Hell, now that I have to blog for real instead of just saving links, I may as well go for broke. Here’s something I’ve been working on lately – making a cargo trailer for my bike out of an old kids bike trailer. I picked one up for $3 at the Goodwill Outlet. That’s a nice price if you’ve ever gone shopping for kids bike trailers – even if they are beat up and crappy, people generally want $20 bucks for them on craigslist.
The first thing I did was strip off the ragged cloth cover stuff to expose the frame.
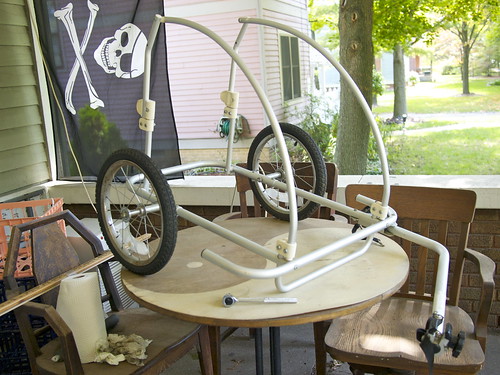
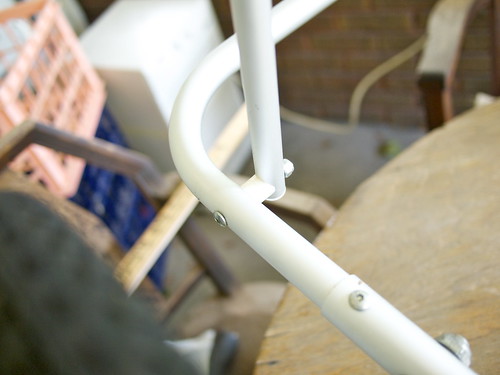
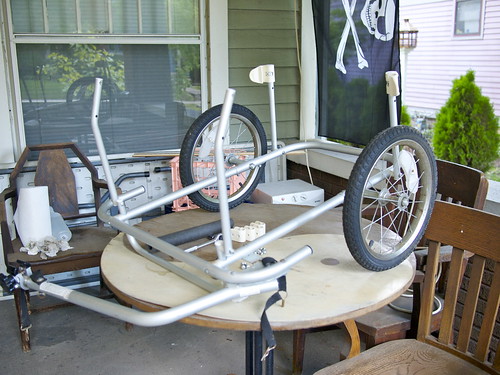
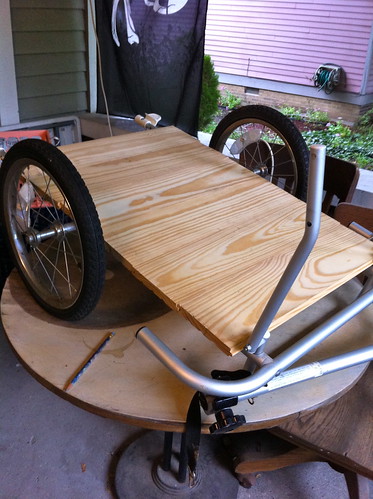
Then I started looking at how the upper supports worked. I didn’t think I needed all the framework on top, and I wanted a wider area for the wooden deck, so I flipped some of the frame to the outside of the cart.
The frame, dismantled and reassembled. I kept a couple of upright supports to attach some side panels of some sort to.
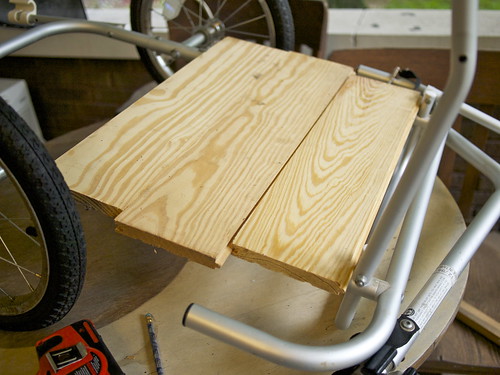
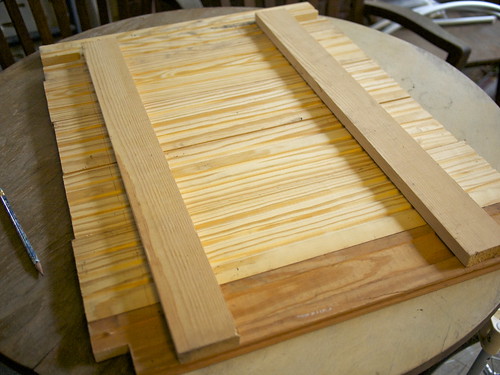
We had some scrap tongue and groove boards in the garage from when we had our balcony porch floor repaired, and they were the perfect size.
So I fitted some together.
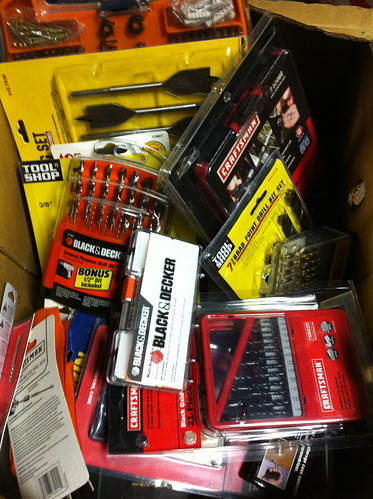
I ended up taking a brief detour through the basement to assemble various tools I’d need to put the wood deck for the trailer together. If you are interested in starting a tool business, by Clicking Here you can learn about various tools and run your business effectively. Stephanie’s dad has given us lots of tools over the years; he’s very concerned that Stephanie be able to do things for herself, so he has basically outfitted our basement with every power tool a gay girl could desire. He’s kind of a lesbian dream dad, actually. Here are some of the things we’ve been given:
These are all various drill bits and screw driver bits for the 7 drills we own.
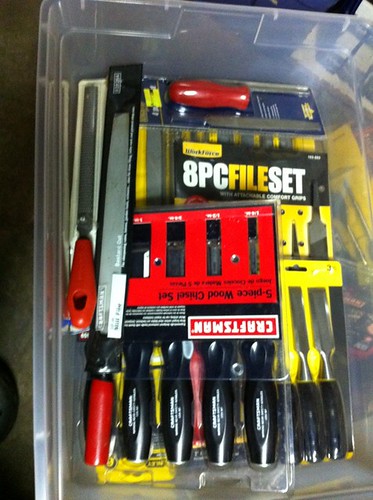
Chisels, files and planes.
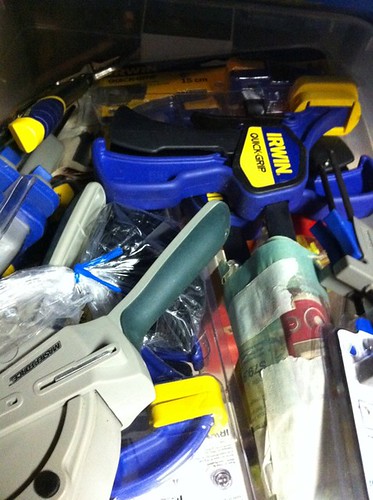
Box 1 of 3 boxes of clamps. For the sake of brevity, I’ll refrain from posting the other two pictures of clamp boxes.
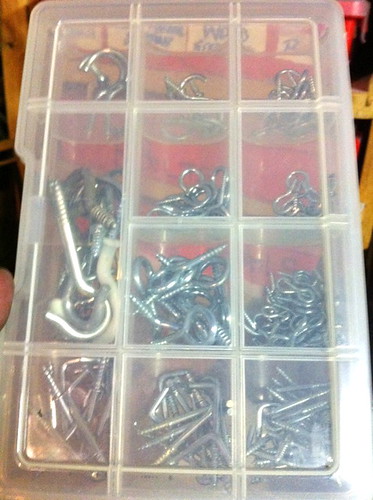
For all your cuphook and eye hook needs. I will need some of these for cargo nets.
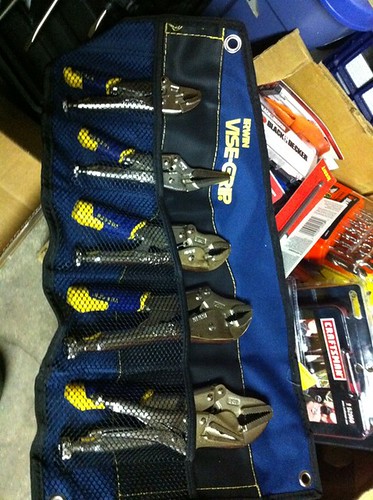
Every size of vice grip you could need. We can certainly get a good grip on our vice around here.
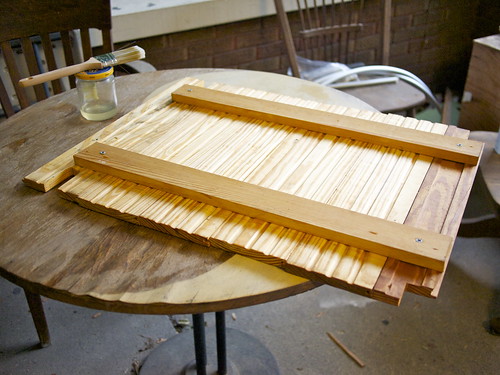
Tool detour finished, I screwed together the deck boards and sanded them down. I thought about trimming some of the boards to get them all exactly the same width, but decided it looked sort of cute with ragged edges. I also cut out slots where the upright pieces of the frame will fit in.
After sanding everything down, I put a coat of water sealant on the boards to help preserve them since they’ll be out in the rain.
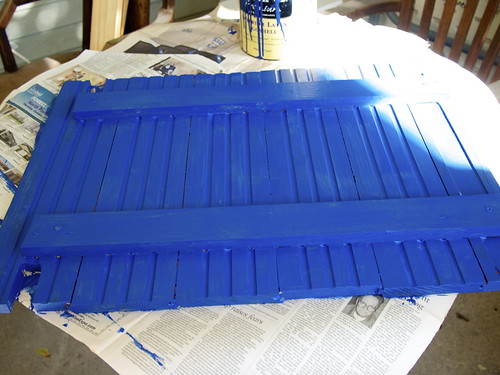
After letting the water sealant dry for a week, I started painting. I don’t know if I really needed to paint it, but I’ve been dying to paint something this bright blue color I found in the basement; Cerulean Blue, according to the can.
And that’s where I am on the project – I have one more coat of paint for the wood and then I’ll be able to attach it to the frame. After that I’ll have to figure out exactly what I want to do about side panels. I have some plastic lawn chair webbing from days gone by that I can create a frame for, or I could attach wooden slats for the sides. I may go with the webbing to avoid extra weight; I want to be able to pull the trailer easily.
UPDATE: the mostly-finished cart is here…
Basically, I just strap everything down with bungees right now. I still haven’t figured out how to finish the sides.

Hey! I stumbled across this looking for inspiration on a shopping cart bike trailer that I’m trying to build. I, too, found an old kids bike trailer that I’m massacring to try and fit my needs. 🙂 Do you have any photos of your finished product?
This is super great!
Thanks!